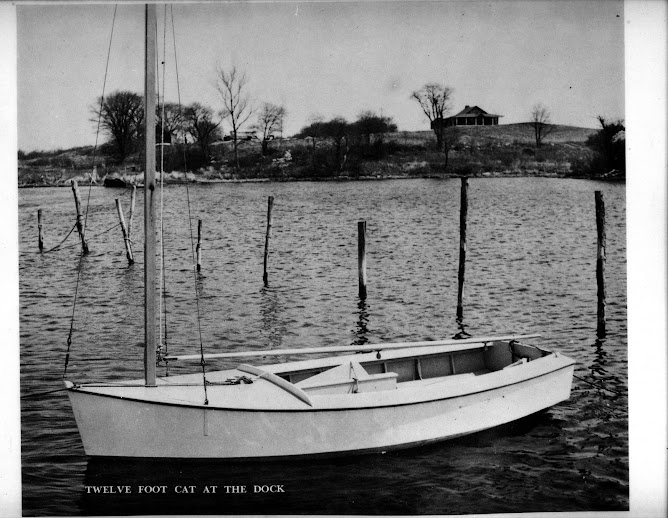
I am using 1/2" marine plywood plus the 1" (3/4", really) pine to make it and it will be reinforced to add to its strength. It will have more screws that nails when I go to put it together.
The most important part is to make a pattern for what is called the "deck crown". This is a curve that runs from side to side and then, in the middle, there is a rise to allow for water run-off. At the widest part of the boat, Frame #6, the width is 72" and the amount of rise between the outside edge of the boat and the middle of the deck was 2-1/2 inches according to the drawing. When I laid it out on the transom, it was way too radical of a rise so I decided to reduce it to 1-1/2" over 72". This gave a more gradual curve and is enough for any water to roll off easily.
There is a formula for figuring the rise that I pulled from an old boat building book. I cut out a 2" x 75 inch piece of Luann plywood then marked its center. I then drew an arc of 1-1/2". Divided the bottom line of the arc into 4 even pieces and then divided the arc curve into 4 even spaces. This will tell me the rise of the curve at 12, 24 and 36 inches from the center of the template.
I cut the curve into the template with my saber saw and drew it on to the plywood that I cut out the day before to make the transom.
I cut the curve out.
I wanted to add a piece of wood across the top of the transom for further reinforcement so, I laid it out and fitted it to the top.
I will add one more piece of pine to the center then glue and screw it all together.

No comments:
Post a Comment