Going through he plywood first poses its own minor problems. I have to align all the frame pieces using the outside edges exclusively so I will need to be careful about keeping the frame stable while I prepare it with pilot holes for the nails and keep them aligned with some temporary small nails like I used on the gussets.
I pilot drilled one section at a time, putting an alignment nail in every couple holes.
I glued and nailed the transom today. I originally was going to use screws but decided to go with nails once I realized that I would have to go through the plywood and into the frame in order to get a better “bite” for the nails. Going through the frame wood and then into the plywood gave me only a ¼” depth on a 1” nail or screw and I only had a total thickness of 1-1/4” so anything longer than a 1” nail was out if the question.
Going through he plywood first poses its own minor problems. I have to align all the frame pieces using the outside edges exclusively so I will need to be careful about keeping the frame stable while I prepare it with pilot holes for the nails and keep them aligned with some temporary small nails like I used on the gussets.
I pilot drilled one section at a time, putting an alignment nail in every couple holes.
![[image]](https://lh3.googleusercontent.com/blogger_img_proxy/AEn0k_sxIV68wU-os9YCFE1HQZzBBrudRq2iQvBJENqiJ9sjGEDmEZVARyz94vbsD5cYR1Ejnv_AIMmmbVf1NqgHUAulydo1MMhOY8SSg7oA367f_dA6PzrRhgBRxEsn4eelrTEKNbwlEw9e6K7vkoT7=s0-d)
That completed, it was time to mix a batch of Weldwood Resin Glue and apply it to the inside of the frames. It was very warm today so the thin layer would dry quickly and I had to quickly reassemble the plywood to the frame pieces and get at least a couple nails in each frame piece to prevent them from moving. I was a bit frantic but my hammer drove the nails home quickly.
![[image]](https://lh3.googleusercontent.com/blogger_img_proxy/AEn0k_tjO46YMbIXYoNAhSCzV7tWt4uTvTLG2MM10k7Xomfh0mV_Ay7e8KrppV38raO1eDqQrxYgqfFhn8hDFik90r4OriBfZkfL-VdrP4Jqp_NLmy29XTz-kp8mGbtkPpibkLyqVsiyKxRzK0VIzj5Q=s0-d)
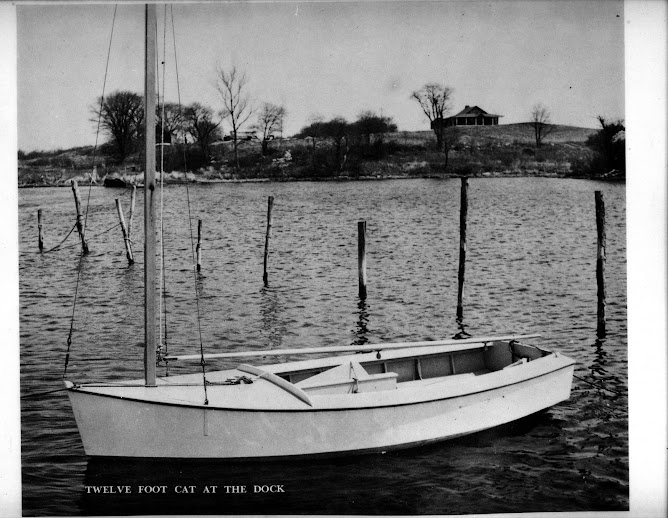
The finished result looked great!
![[image]](https://lh3.googleusercontent.com/blogger_img_proxy/AEn0k_tqNvQloKkppz47rst-gRtcA7ndeRD2mfQGz77MgcPA4HI_5ju1BLPoe1jYY030icEnt_8O8JMRUzeE7DPZ-q14hmDPFf67nNOPKc5UDVQVKbI4zeBeY7dcaMtzoiFgaHsKQIT5wVluoh0Yhm0Qzw=s0-d)
I spent the rest of the afternoon carefully laying out the cut lines for the stringers and the keel.
No comments:
Post a Comment